Introduction
With the presentaid Smart Sticker you can save your shapes for later use and group them to easily switch between different states.
Save a Smart Sticker
- Right click the shape which you want to save and choose presentaid actions → Save SmartSticker
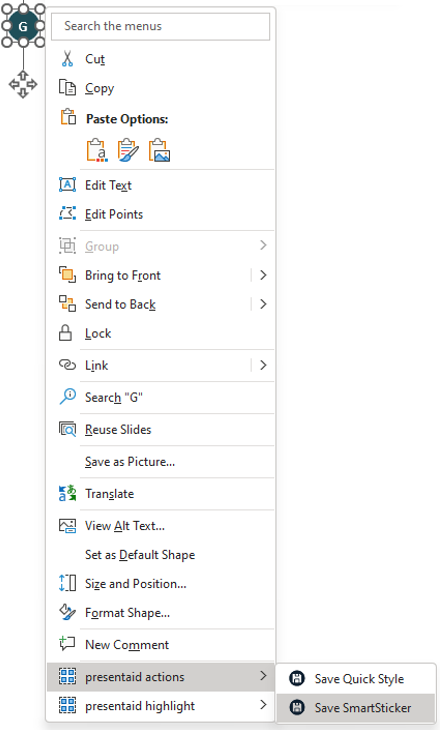
Save Context Menu - Give your Smart Sticker a name and assign it to a group
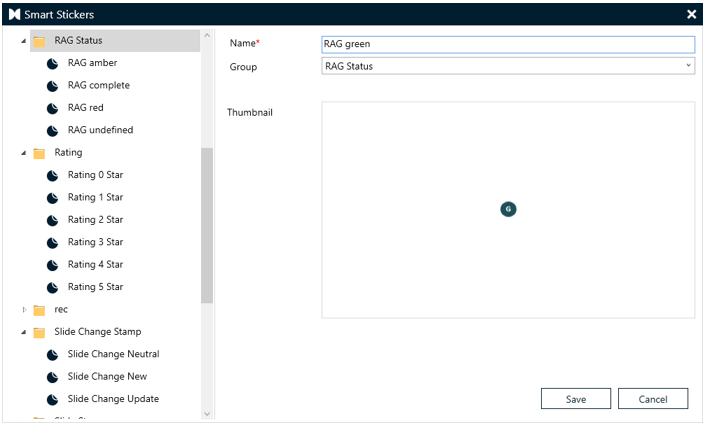
Smart Sticker Save
Apply a Smart Sticker
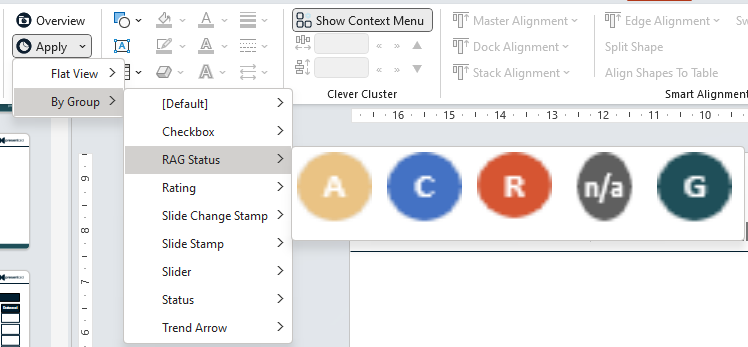
- In the presentaid ribbon, go to the Smart Sticker group and click Apply
- Select the Smart Sticker that you want to apply to your slide
- Alternatively, click on the little arrow next to Apply to open the Gallery View. You can select between the Flat View (shows all Smart Stickers) or the Grouped View.
Apply Menu
Note: The Smart Sticker will be applied on the exact position from which it was saved. However, if you select a shape or a table cell and apply a Smart Sticker it will be placed in the center of this selection.
Switch a Smart Sticker
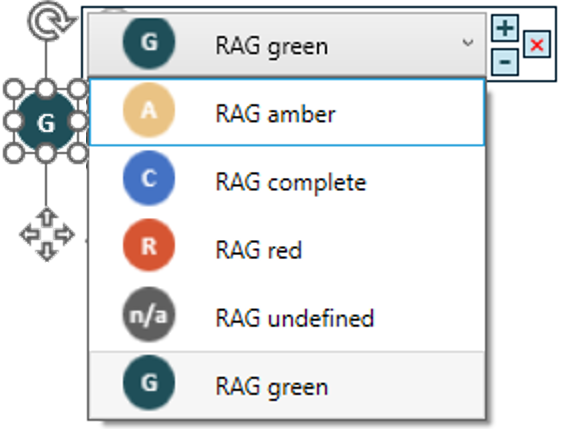
- Select a Smart Sticker that you have placed with the Smart Sticker functionality
- A drop-down menu will pop up which shows you all the Smart Stickers which are in the same group as the selected one
- Choose the Smart Sticker that you want to switch to
Dropdown
Work with placeholder text
The Smart Stickers support certain placeholders. Everytime a Smart Sticker is placed or refreshed, the placeholder text will be substituted.
| Placeholder | Meaning |
|---|---|
| #date# | Places the current date in format "dd/MM/yyyy" |
| #timestamp# | Places a timestamp in ISO 8601 Format UTC time |
| #username# | Places the username of the logged in user |
| #userfirst# | Places the first name of the logged in user |
| #userlast# | Places the last name of the logged in user |
| #userin# | Places the initials of the logged in user |